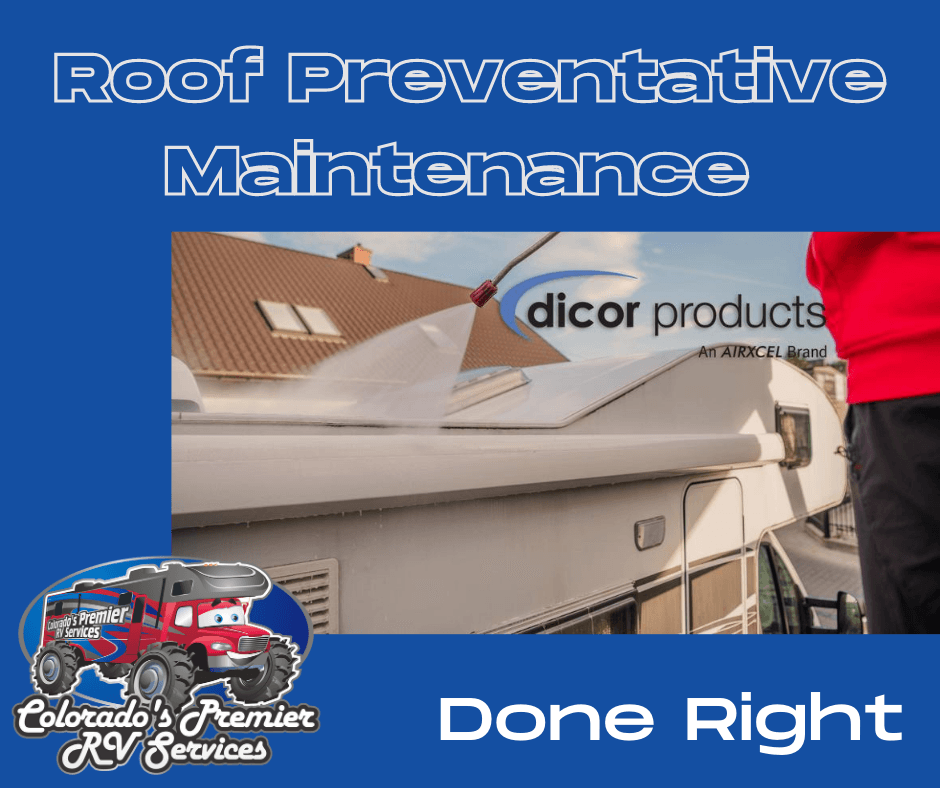
Roof Preventative Maintenance - Keeping your RV's Roof In Top Condition
Roof Maintenance - The Forgotten Maintenance
This post may contain affiliate links.
Your RV's roof is there for you rain or shine. It keeps you protected, so why not keep it protected?
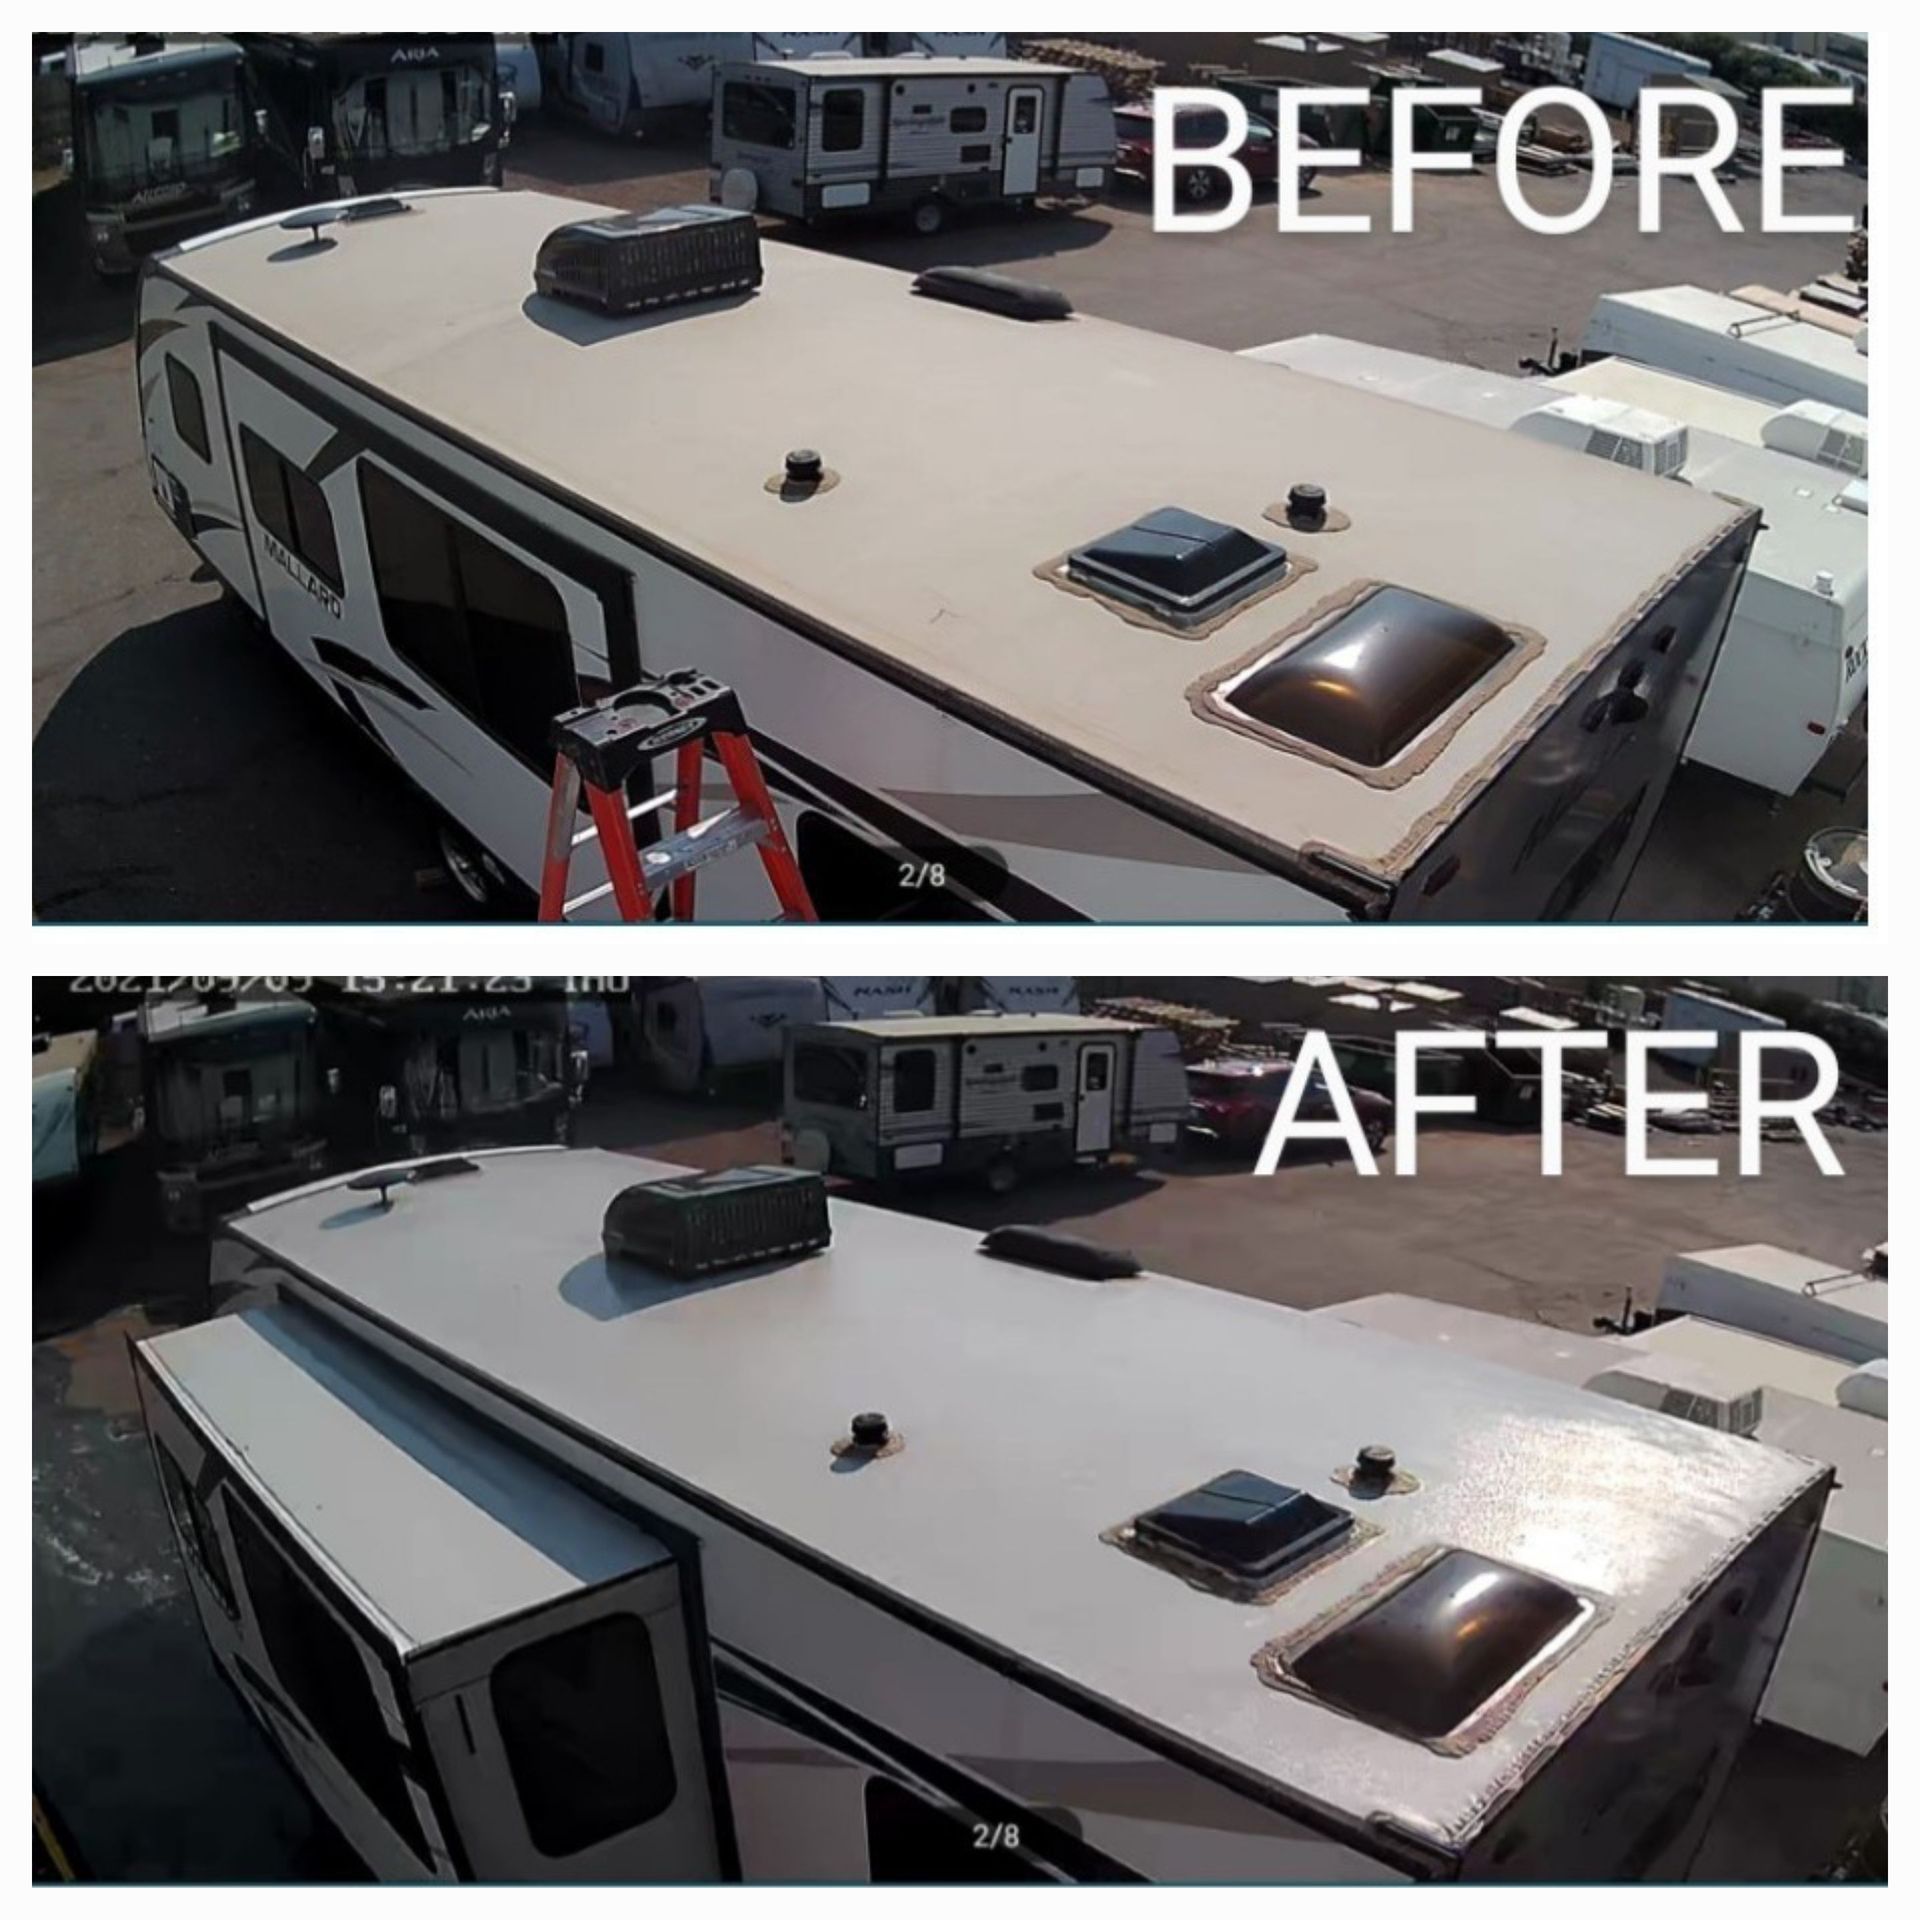
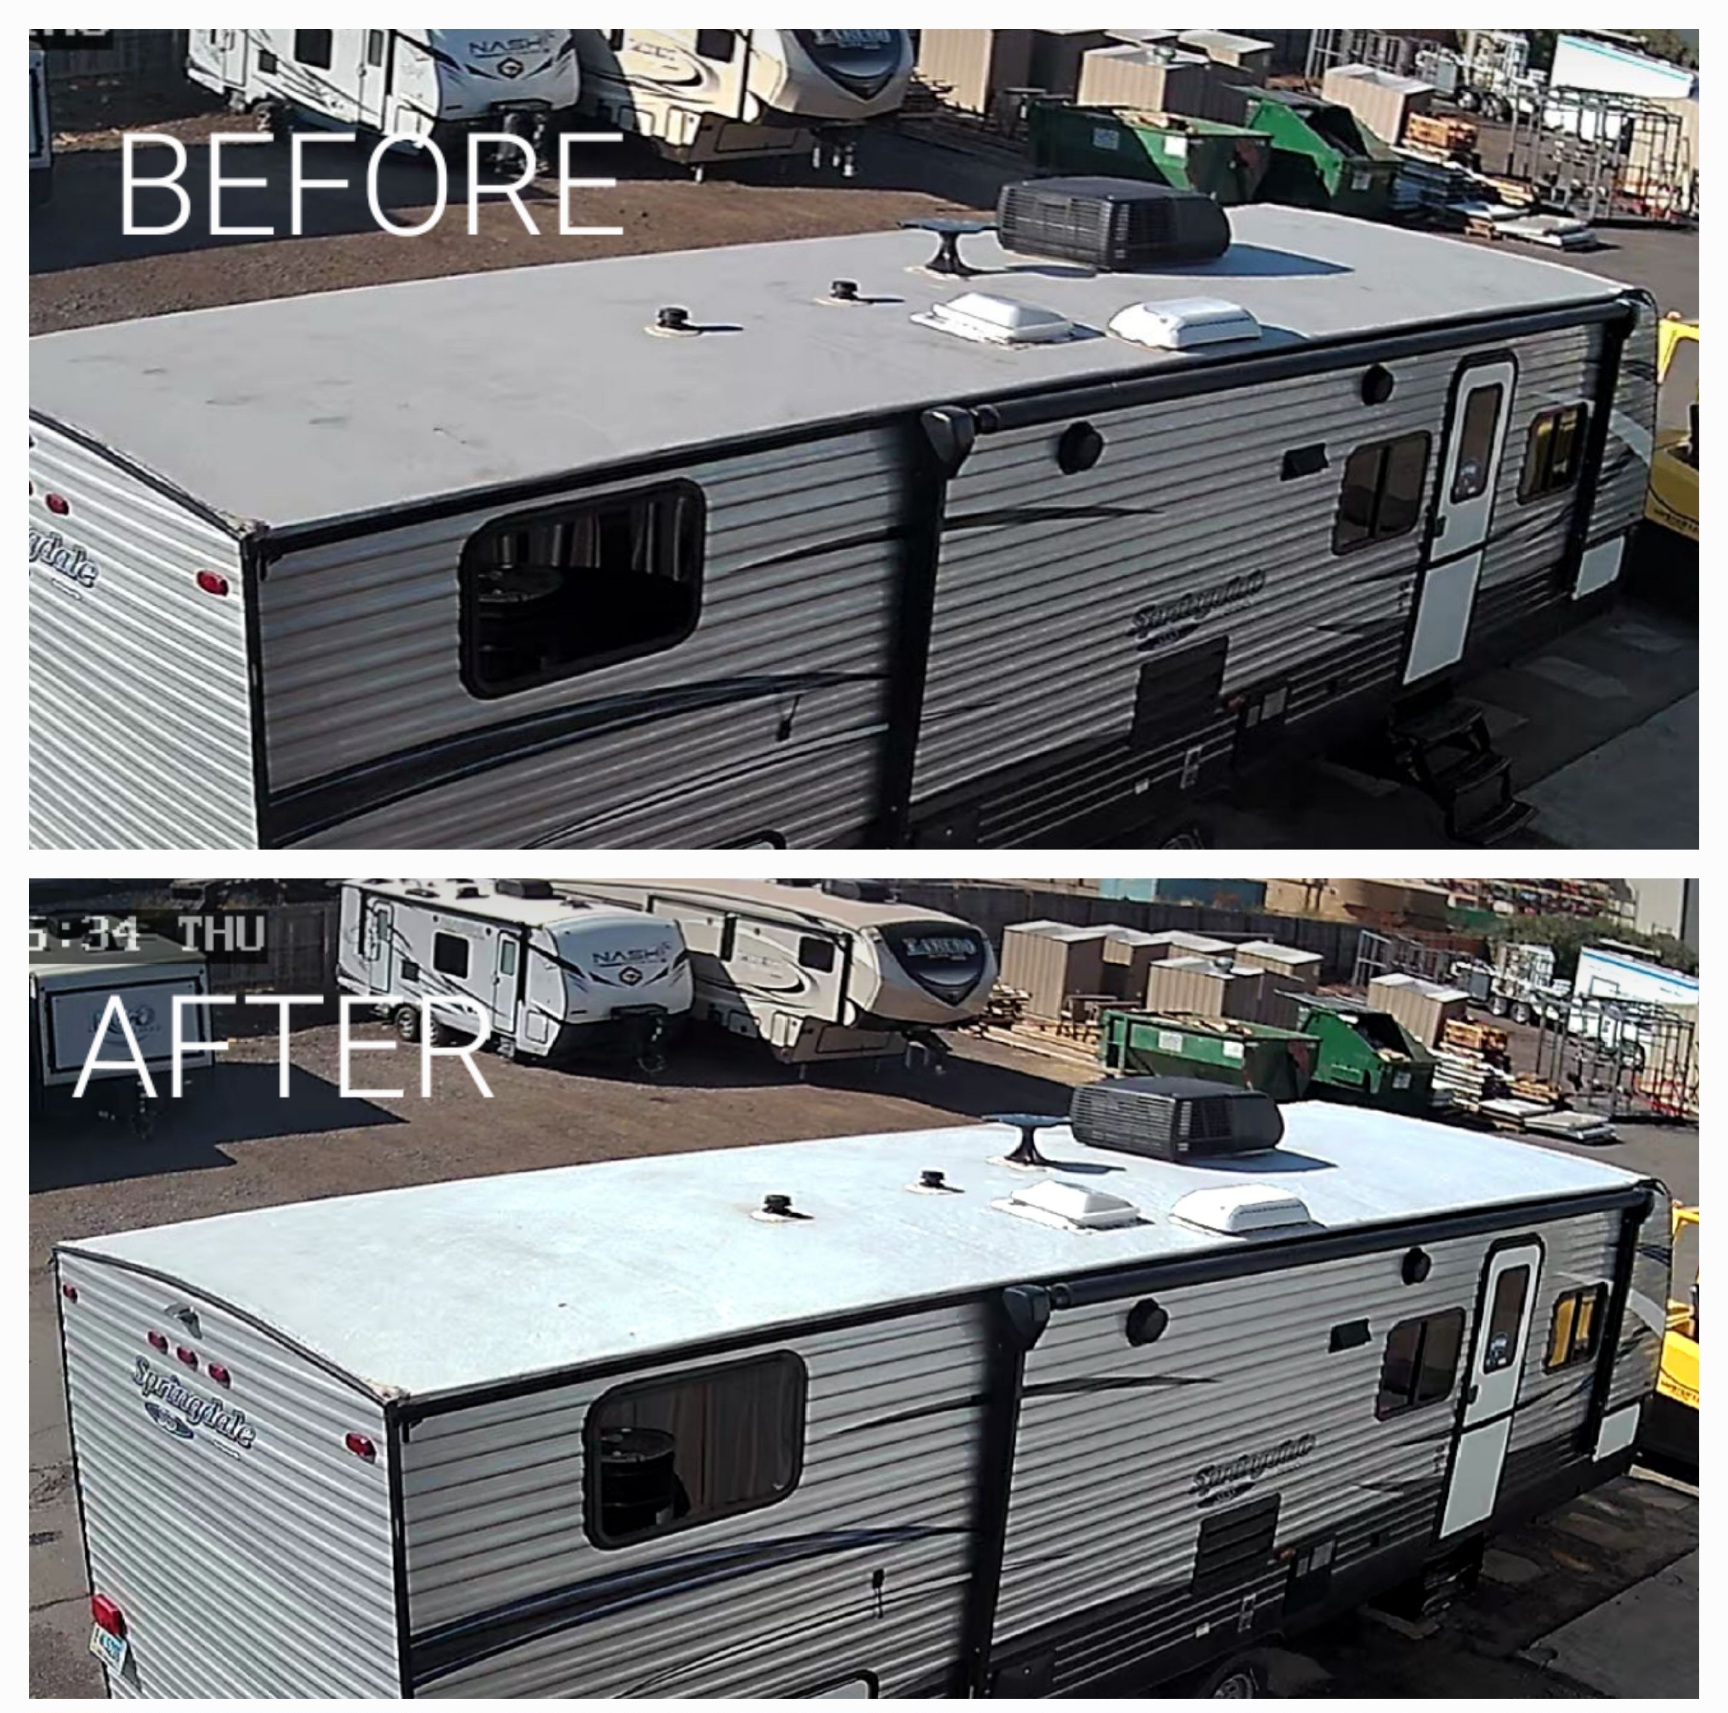
Did you know that manufacturers recommend cleaning and conditioning your RV's roof every six months in order to prevent wear and tear and extend the life of your RV's roof?
There are several roof types for trailers and some class c motorized coaches, but they can all be maintained in the same way with the same products.
It is extremely important to have the roof preventative maintenance performed prior to winter if you store your RV outside. Snow melt can find its way into cracks and voids. It freezes and makes the voids and cracks larger, increasing the chances of water damage to your RVs roof.
For the do-it yourself crowd, it is a fairly simple 2 part process.
Using a soft bristle brush, wash the roof with an RV rubber roof cleaner. (Don't forget to close all the windows and vents!)
We recommend this brush.
We also recommend NOT using a power washer. The intensity of the spray can cut right through fabric. We have also had several customers needing AC repairs due to power washing incidents.
Not sure what to use for cleaner? Dicor has great products that we use right here in our shop.
Dicor Corporation Rubber Roof Cleaner Gallon
Once you have washed and rinsed the roof, allow time to thoroughly dry. This is a great chance to complete an inspection.
Inspect seams along all four roof edges. Look for delamination, missing bolts/screws, or clear signs of water damage.
Inspect seals around air conditioning units, roof vents, skylights, RV antenna, solar panels, and any other areas where the roof has been penetrated.
If you can tell whether the screws holding items down are Square head or Philips, the sealant is too thin...
Look for cracks and voids in the sealant - if you can find them, so can water.
Look for dents/holes or tears in the rubber from objects that may have fallen on your RV during the winter. If you find areas that require reapplication of the sealant, always choose a product designed for your RV roof. Use self-leveling lap sealant for the roof, and standard (not self-leveling) lap sealant for sloped or vertical areas, like gutters and corners.
We also use Dicor's sealing/re-sealing products here at our shop. Make sure to find the color that most closely matches your roof material.
Once all of the sealant dries thoroughly, you will want to apply a Roof Protectant. This product both conditions your roof and contains a UV protectant.
Climbing onto your RV roof can be a dangerous proposition! Deciding whether to take on an RV roof coating job yourself or leave it to a pro is a personal decision and one that should be made with safety in mind. For those of you that are not comfortable with getting up on the roof or such a tall ladder and would rather leave it to the pros, give us a call and we can have you ready for spring in no time!